| English | 简体中文 |

</br>
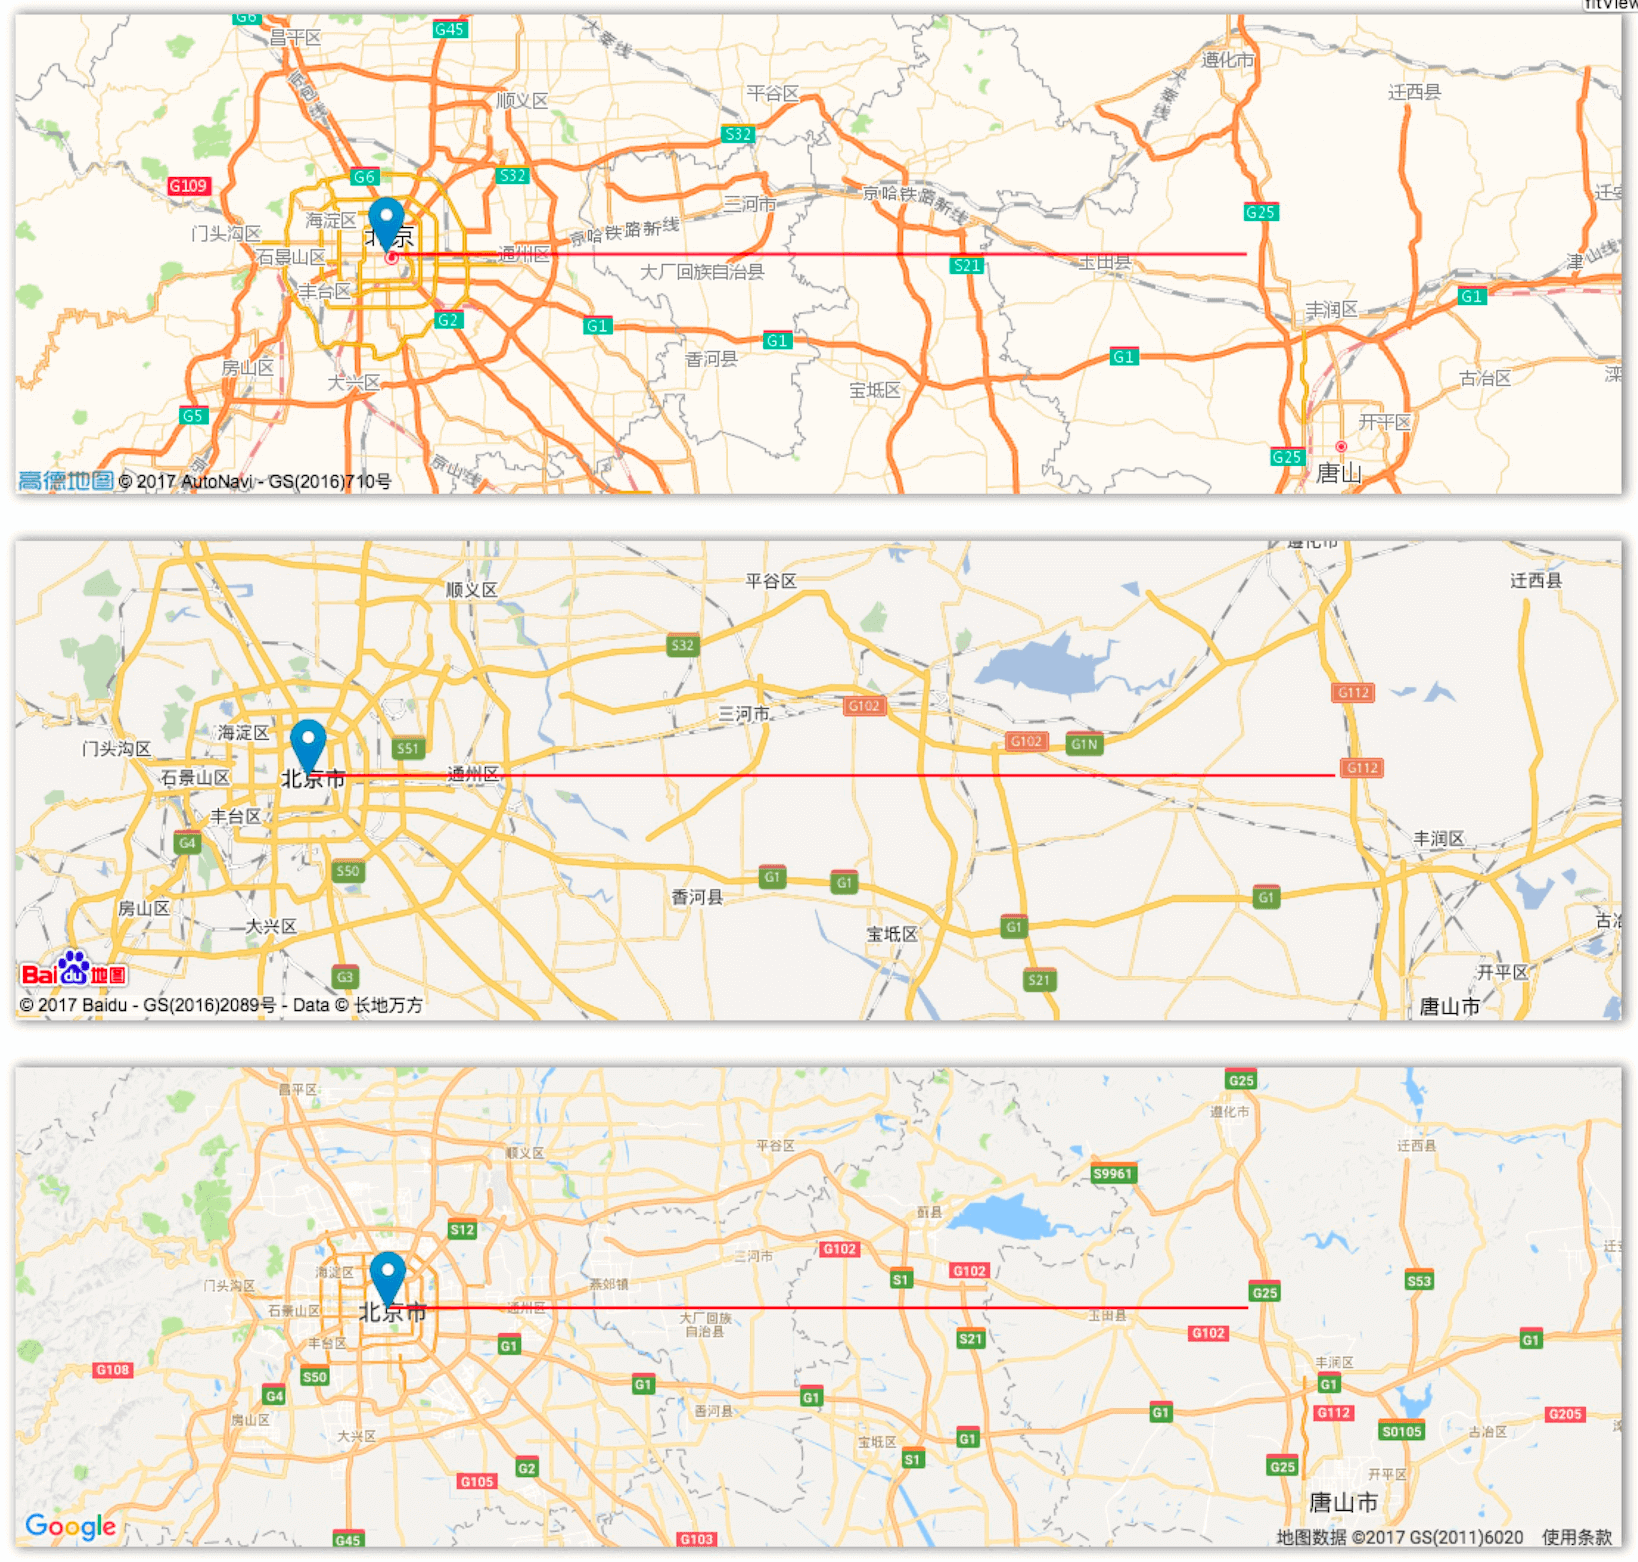
Create your map application with same code, get rid of different Map library API ✨.


特性
- Layers
- Marker
- Polyline
- Popup
- Map Controls
- zoom
- fitView
- panTo
- Evented
- Utils
- getBound
- locate
- coordinate translate
如何使用
安装
使用 npm 安装 plain-js,你也可以在页面中引入构建后的 js 文件。
$ npm install plain-js --save
创建地图
创建地图的方式很简单,最直接的方式是在 html 文件中引入地图库的脚本文件以及 plain.min.js
// 首先初始化一个 plain 对象
let plain = new Plain();

// 设置需要使用的坐标系,如果不设置的话所有地图使用默认的坐标系,
// Google 和 高德地图在大陆使用 GCJ02,百度地图使用 BD09,
// 为了方便开发建议设置为 GCJ02
plain.setCoordType("GCJ02");

// 告诉 plain 你需要使用 Google 地图,
// 可选的参数有 Google Map "GMAP", 高德地图 "AMAP", 百度地图 "BMAP"
plain.use("GMAP");

// 创建一个 Google 地图实例
let map = plain.Map({
    container: "#map",          // DivElement
    center: [39.908012, 116.399348],
    zoom: 15
});
或者使用回调的方式创建
let plain = new Plain().use("GMAP");
let key = "[your access key]";
plain.loadMap(key, () => {
    let map = window.map = plain.Map({
        container: document.getElementById("map"),
        center: [39.910, 116.404],
        zoom: 15
    });
}, err => {
    // TODO:
};
添加 Marker
let marker = plain.Marker([39.910, 116.404]);
map.addLayer(marker);   // 也可传入一个数组
如果想让 Marker 变得不一样也是可以的,在 Marker 方法中传入第二个参数:
// 自定义 icon
let icon = plain.Icon({
    url: "https://unpkg.com/leaflet@1.0.3/dist/images/marker-icon.png",
    size: [25, 40],
    anchor: [12.5, 40]
});

// Marker configure option
let markerOpt = {
    icon: icon,
    draggable: true
};
let marker2 = plain.Marker([39.910, 116.404], markerOpt);
map.addLayer(marker2);
map.removeLayer(marker);    // 可以从地图中移除之前创建的标记
添加 Polyline
向地图中添加折线之前需要先定义一个二维数组,注意:我们默认传入的坐标格式是 [lat: Number, lng: Number]
let path = [
    [39.910, 116.404],
    [39.71, 116.5],
    [39.909, 117],
    [39.710, 118]
];
let polyline = plain.Polyline(path, {
    color: "#f00",
    weight: 2,
    opacity: 0.8
});
map.addLayer(polyline);
自定义覆盖物及 Popup
let layer = plain.Layer()
    .setContent("text or Element")
    .setLatLng([31, 116])
    .mount(map)
    .show()
    .hide()
    .unmount();
let popup = plain.Popup({closeBtn: false})
    .setContent(document.createElement("button"))
    .setLatLng([31, 116])
    .mount(map)
    .show()
    .hide()
    .unmount();
事件
到目前为止,我们已经可以创建一个展示基本信息的地图了,那么接下来就给地图绑定下点击事件的响应方法。 plain 提供了一个工具方法格式化传入的事件对象,返回的值格式如下
class Event {
    e: any;             // 原始的事件对象
    p: F.LatLng;        // 坐标 [lat: number, lng: number]
    target: F.Layer;    // 触发事件的对象
    type: string;       // 事件名
}
其中坐标 p 为最初 plain.setCoordType("GCJ02"); 设置的格式,如果没有设置,那么返回的值和原生地图库一致。
let listener = map.on("rightclick", function (e) {
    console.log(plain.Util.formatEvent.call(this, e));
    // 顺便校正下地图窗口
    map.fitView(path);
});
接下来我们要取消事件监听:
map.off(listener);
工具
Get bound
| method | description |
|---|---|
| getBound(latlngs: LatLng[]): LatLng[] | Return a rectangle that cover all points. |
Locate
| method | description |
|---|---|
| locate(success?: Function, error?: Function): void | Map location. |
Coordinate Translate
| method | description |
|---|---|
| b2g(latlngs: LatLng[]): LatLng[] | BD09 to GCJ02. |
| w2g(latlngs: LatLng[]): LatLng[] | WGS84 to BD09. |
| g2w(latlngs: LatLng[]): LatLng[] | GCJ02 to WGS84. |
| w2b(latlngs: LatLng[]): LatLng[] | WGS84 to BD09. |
| b2w(latlngs: LatLng[]): LatLng[] | BD09 to WGS84. |
| g2b(latlngs: LatLng[]): LatLng[] | GCJ02 to BD09. |
License
plain is MIT licensed..